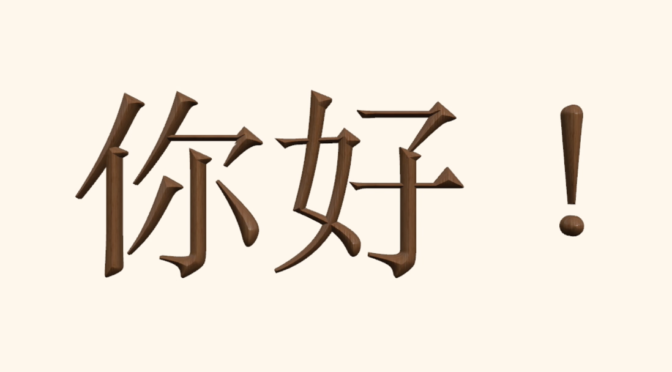
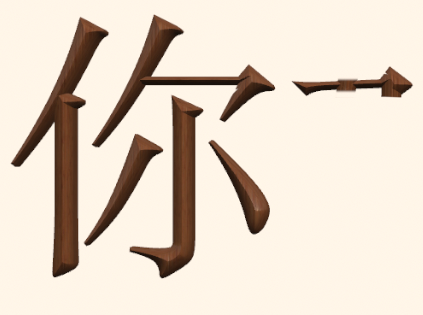
Today’s challenge was to create some written text on screen. I chose two of the most common Chinese characters to demonstrate this form of animation, 你好!(Ni hao!)
This one took some figuring out since I wasn’t using a solid piece of text, by that I mean, the font I chose to use has a lot of little overlapping “knicks” or “strokes” which made it difficult to conceal what was going to be written. In other words, if you looked closely, you could see which stroke would reasonably be shown next.
Although the final result is decent, there is at least one point that you can see where I couldn’t block out or mask, which is on the second second character, 好. Given the time constraints, I left it as is since I spent quite a bit of time trying to mask a few other spots.
So how was all of this done?
Here’s a look at the browser in Motion:
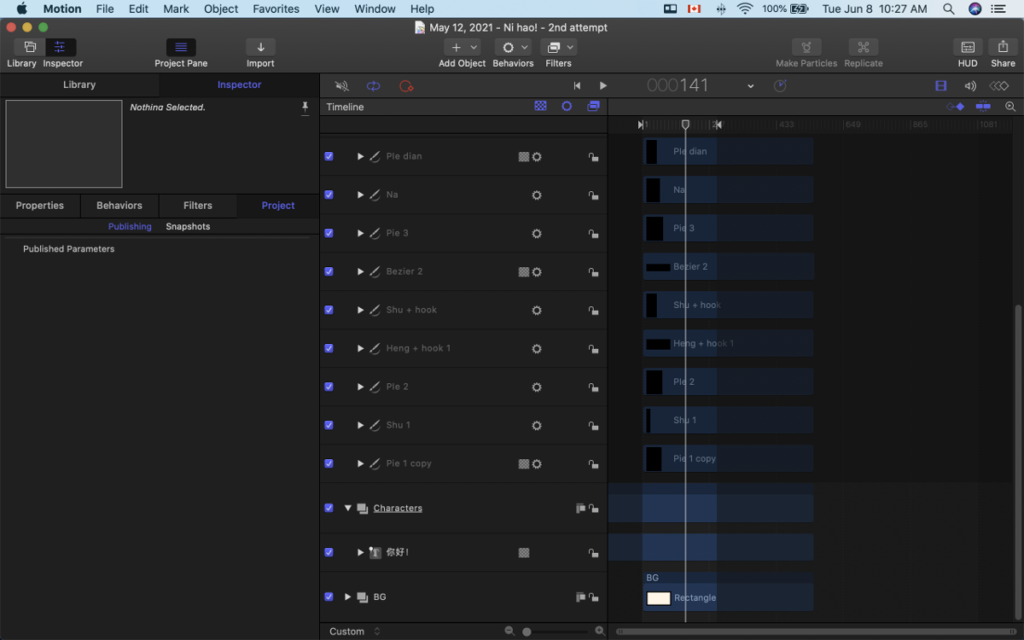
As you can see, it took a little bit of effort to get done and using Chinese characters didn’t help the speed of the project. However, there were two ways I to do this as I saw, one of them is the way I did, creating an outline of each of the strokes using the Bezier tool and keep everything separate. The other way was to use a single bezier outline to trace the whole piece of text. Given that Chinese characters don’t have the same number of rounded edges as Latin characters do, I decided to go with the first method. I thought it would be easier.
The first thing to do was to create a filled in rectangle. I suggest using a white-ish background so it’s easier to see what you’re working with on the canvas.
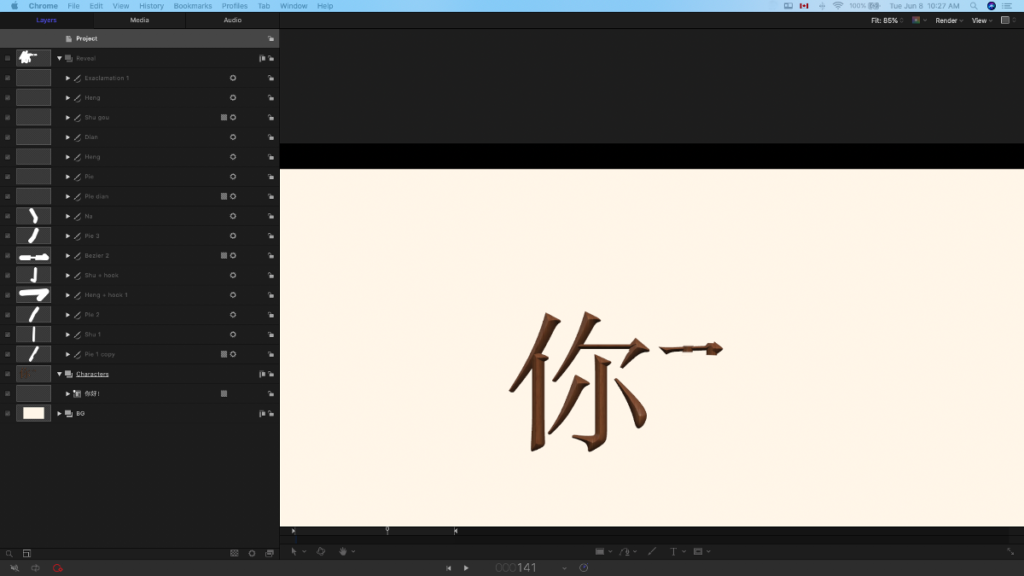
Next, I created a simple text, 你好 ni hao, which just means “Hello” in Chinese and applied the Bamboo texture to it to give it some life. I used this text as the basis for all of the bezier tracing I did.
Next, using the Bezier tool, I traced along the lines of each of the strokes that make up the characters. To help along with my own Chinese studies, I decided to label each of the strokes according to the technical term in Chinese writing, hence “pie”, “heng”, “shu”, etc.
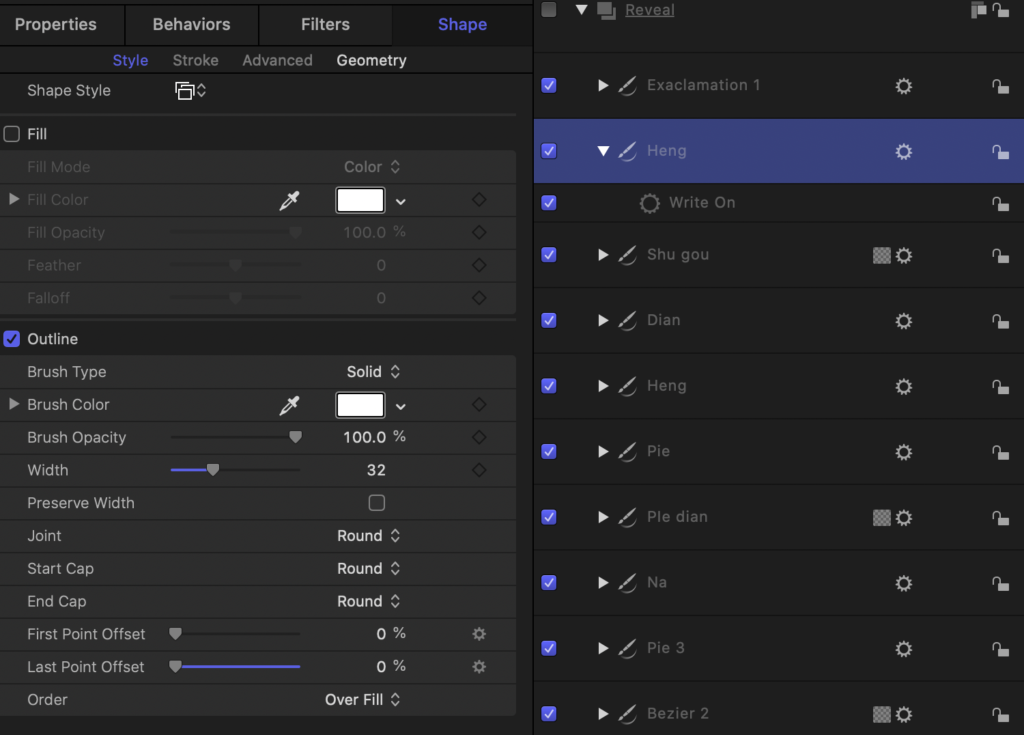
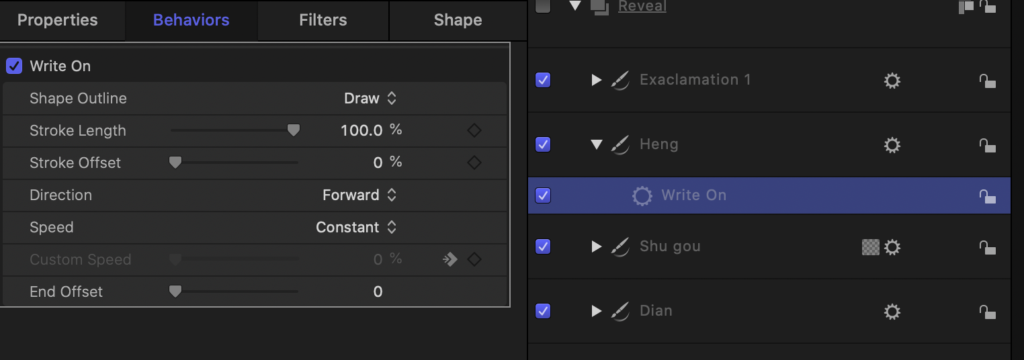
Once that was done, I applied the Write On behaviour:
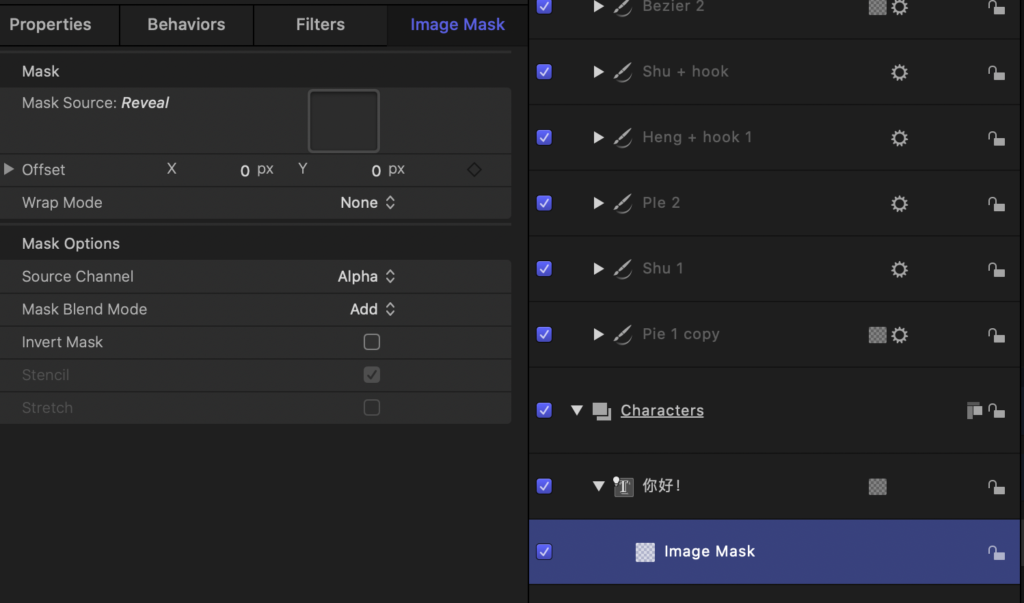
With all of the tracings filed under a “Reveal” group, I then used this group as the source for the Image Mask:
Of course, if you want a full tutorial on how this was done I suggest you look at A/V-Ultra’s tutorial on YouTube. He does go a little bit fast in places but I hope the above images set you up for an easier time of it.
The one thing I can see as a useful exercise is to somehow create a collection of written Chinese characters in Motion that could then be published to Final Cut Pro and modified as necessary. I have an idea of how to do this since, as I mentioned above, there are only really a handful of strokes in written Chinese and, if there could be a way to enter the text and then have it analyzed and revealed in the same way, I think that would be a rather neat plugin to have.
Overall, to do this on a regular basis or with any more than a handful of characters might prove overly time-consuming. The effect is really neat, but given that text only really stays on screen for a few seconds at best, it might be something reserved for special occasions.
Full Playlist for May You Make Your Movie on Youtube:
