Today’s challenge was definitely a challenge! I set a monkey’s head on fire!
Those who have done any graphic work before may have encountered a program called Blender, which is a free and open source graphics editing program. It has come a long way since its inception and is far more usable now than ever before. I’ve tried using several versions of it before but with very little success. Today I wanted to change that and got at least a bit further into the program than with my prior attempts.
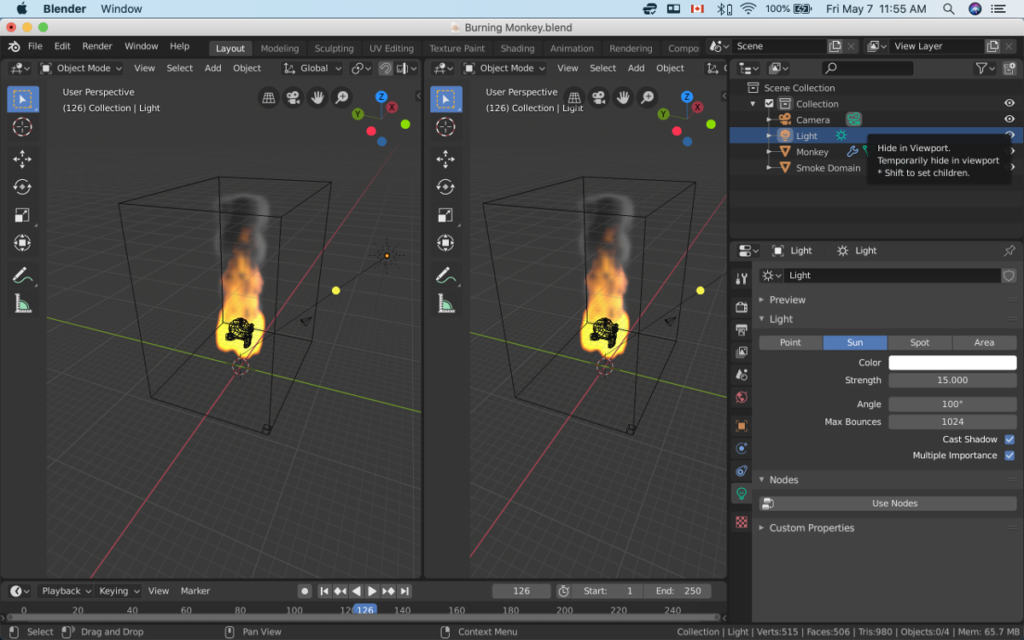
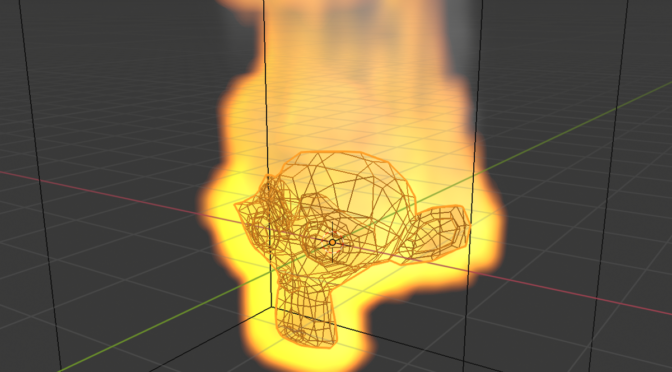
This monkey will be immediately recognizable to anyone who has worked with Blender before. It’s the default monkey head mesh with the Quick Smoke + Fire effect put on top. Despite its apparent simplicity, I was surprised how long this took to put together. Not only have I barely ever used Blender before (so it was a new environment to get used to), but the tutorials online all use different versions so the buttons move around quite a bit.
For this video I used Blender 2.80, which is one of the latest versions. I selected this version because it’s what Andrew Price (known as the Blender Guru on YouTube) uses in his famous “donut” tutorial. He recently upgraded the series with Blender 2.8 and so, to keep things as simple as possible, that’s the one I chose to install. My prior version of 2.79 would work the same, but there are a few improvements since then.
Anyway, I started going through the tutorial on how to make a donut and got through much of Part 1, just until he starts working with cameras, and that’s when my lack of a middle mouse button became more of an aggravation than a nuisance. Blender works in the 3D workspace for which, in order to move around, there are several commands you can use. You can even kind of make it work with a touchpad but a 3-button mouse is your friend in this case. Sadly, the scroll wheel on my mouse has never worked properly so it really began to drag on my workflow.
Whatever, work around it.
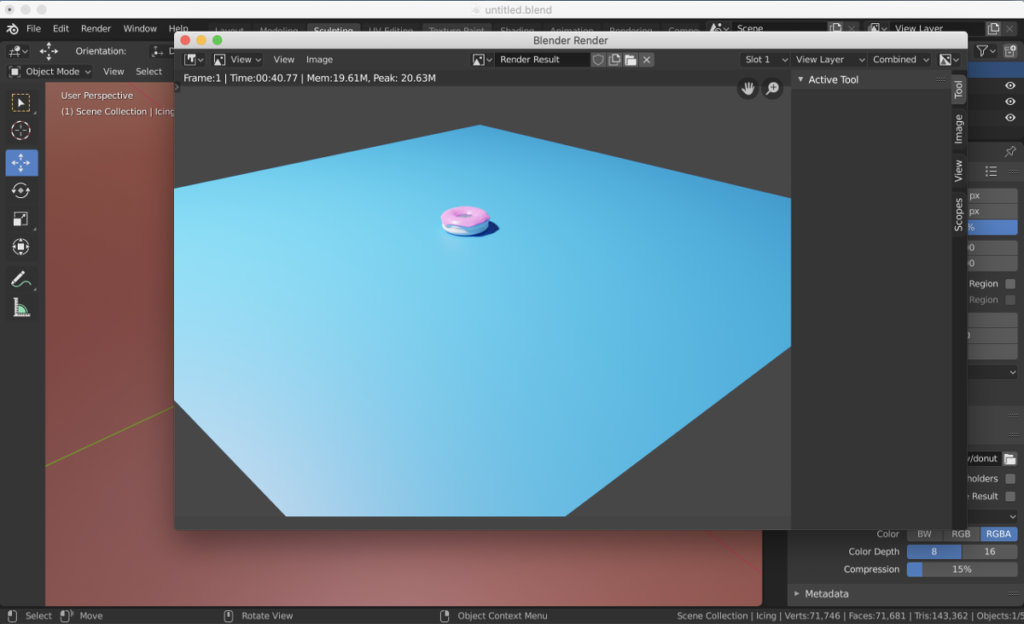
Anyway, I got through to the finished donut and this is what it looks like, which I’d love to show you the final result but, Blender being the confusing program that it is, I can’t find where the exported, rendered file is. So here’s a screenshot instead:

This is probably one of the most off-putting aspects of Blender: it is a program that you need someone to take you through in order for you to understand how it works and where to look for things. It’s not as intuitive as other programs out there but, then again, you’re not getting this for it’s ease of use. You’re using it because it’s free and pretty good at what it does. So a massive amount of patience is in need.
Anyway, I wanted to export that donut as a 3D and then work with it in Motion but, again, I couldn’t figure out how to export a file format that Motion would understand. No problem, I thought, Blender has a camera built in.
The problem with Blender’s camera work is that its rendering speed is slooooooowwwwww.
I don’t know all the inner mechanisms of these things nor do I do much CG work at all, so maybe this is just par for the course. But I had the idea to model something in Blender, export it, and then do all the fancy camera work in Motion as it’s far easier to use (and I’m already familiar with it). No such luck.
Further, the donut was stationary and I wanted to make something move. Andrew very quickly goes through how to create a flaming monkey head at the end of the first part and so I thought that would be a good thing to practice on for exporting. But Andrew only talks about how to render a still image, not how to render out an animation (until later). Next tutorial.
I followed one of Olav64’s tutorials (https://www.youtube.com/watch?v=_RKAL5zST84) and that helped, but, after trying to follow along, I found he was complicating what should have been a very simple animation: import monkey head, set it on fire, render out. That’s it. I guess this is on me as I could’ve just left everything on the default settings instead of poking around and trying to follow the tutorial.

And that’s when I ran into Blender’s rendering speed: impossibly slow.
The speed of the render makes me give out a little bit more respect for the people who’ve made short films with Blender. They must be using render farms because there is no way you’re doing this on a single computer. It brings me back to the early days of using Adobe Premiere on a PC! Set it to render and don’t touch anything!
I tried a few different renders but everything was taking a very long time. What you see in the video above is a screen recording of the Blender project followed by two seconds of the Blender export composed of 50 individual PNG files that I imported to FCX to string together.
I’ll have to make do with what I got done here as I’m not going to wait for Blender to render out a full animation. Not only does it take a long time but it makes my computer’s fans spin hot and I can’t afford to burn out my computer.
I’m glad I went through the tutorials and I’m glad I now see how Blender can work. It’s a program I want to keep using but now see that simply creating CG characters is one thing, animating them is another. Short of simply getting After Effects (which is costly and still requires a steep learning curve), I’m not sure there are any other quicker 3D design programs out there.
Anyway, it’s done for now. I might return to Blender for 2D work but it looks like 3D might have to be done elsewhere.
Full playlist of May You Make Your Movie can be found below:
